
Look, setting up a cold wallet for crypto sounds scary to non-tech people. Actually, the process is pretty logical once you understand the basics. You do not need to be a computer genius. You just need to follow the instructions and be slow.
In this guide, “I will walk you through how to set up a cold wallet” OR “how to use a cold storage wallet for crypto”.
First, here is my list of the best cold storage crypto wallets…
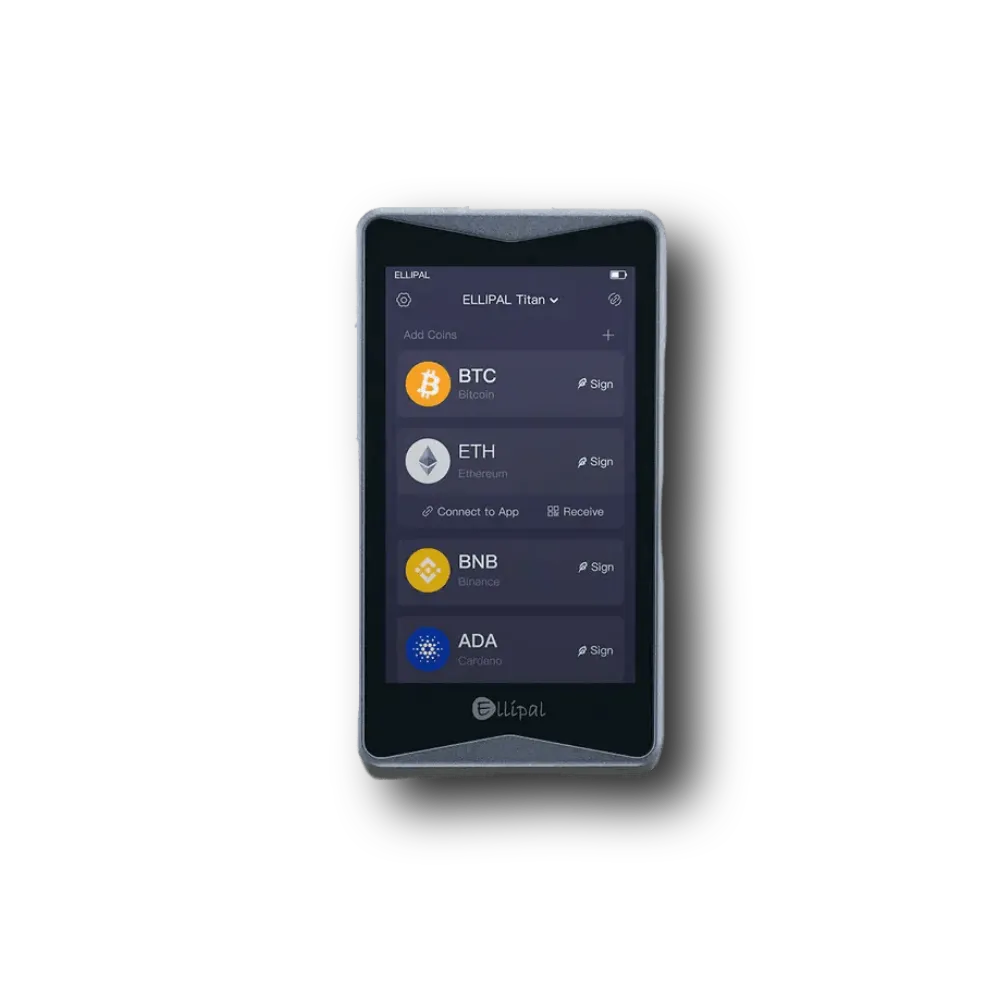
ELLIPAL Titan 2.0
Ledger Flex
How to Set Up a Cold Wallet for Crypto Storage?
Step 1: Buying the Device Safely
Buying your wallet from the right place is the most critical safety rule. You must buy directly from the manufacturer. Never buy a crypto hardware wallet from eBay, Amazon, or a random third-party seller. Seriously, don’t do it.
Here is why. A hacker could buy a cold wallet, open the box, tamper with the insides, and then sell it to you. It might look brand new. It might even be shrink-wrapped. But the moment you put money on it, they steal it. So, go to the official website. Pay for the shipping. Wait a few days. It is worth the peace of mind.
Step 2: Unboxing and Inspection
Okay, your package arrived. Before you get excited and plug it in, look at the box. Does it look damaged? Is the seal broken? Most companies use tamper-evident tape. It shows a void message if someone peeled it off.
Actually, some companies stopped using seals because they can be faked. Instead, they use software checks. But you should still look for physical damage. If the plastic looks glued back together or the screen is scratched, contact support. Do not use it.
Open the box. You should see the cold storage hardware device, a cable, and some paper cards for writing down words. There should be no piece of paper with numbers already written on it. Exactly. If you see a card that says “Here is your PIN” or “Here is your seed phrase,” you are under attack. Throw the device away. The device must generate the secrets for you.
Step 3: Initial Setup and Firmware Update
Plug the device into your computer or connect it to a power source. Usually, you need to download a companion app. For Ledger, it is Ledger Live. For Trezor, it is Trezor Suite. Go to the official website to download this app. Don’t search on Google App Store blindly. Scammers make fake apps that look real. Type the URL from the manual directly into your browser.
Once the app is open, it will detect your device. Almost always, it will ask to update the firmware. Firmware is the operating system for the wallet. You want the latest version because it fixes bugs and security holes.
Click update. Let it do its thing. Don’t unplug it while it is loading. That could break the device.
Step 4: Creating Your Wallet (The Seed Phrase)
Now we get to the most important part of this entire article. The device will ask you: “Set up as new?” or “Recover wallet?”. Choose “Set up as new.”
It will then show you a series of words on its screen. Usually 12 or 24 words. This is your Master Key. We call it the Seed Phrase or Recovery Phrase.
Rules you must follow:
- Write it down on paper: Do not type these words into your computer. Do not take a photo with your phone. Do not read them out loud.
- Verify them: The device will ask you to confirm the words. It does this to make sure you wrote them down correctly.
- Order matters: Word #1 must be Word #1. You cannot mix them up.
Please, take your time here. If you write “band” instead of “bank,” you could lose access forever. By the way, the device might also ask you to set a PIN code. This PIN is just for unlocking the device itself. It is not the same as the seed phrase. Make the PIN hard to guess. No “1234” or “5555”. Okay.
Step 5: The Backup Strategy
Writing the words on the paper card that came in the box is okay for now, but the paper is weak. Paper burns, and paper gets wet. Paper gets eaten by dogs as well.
Eventually, you might want to upgrade to a metal backup. These are steel plates where you punch or slide letters in. They are fireproof and waterproof. For now, put that paper card somewhere super safe. But think about a fireproof safe, or hide it in a book that nobody reads.
Actually, some people split their words. They put 12 words in one house and 12 words in another house. I guess that works, but it complicates things. If you lose one half, you lose everything. You can just keep it simple for your first time. One secure location. Tell nobody.
Step 6: Installing Apps
To store different coins, you often need to install specific “apps” on the device. For example, if you want to store Bitcoin, you actually need to install the Bitcoin app through the manager software (like Ledger Live). If you want Ethereum, you install the Ethereum app.
These apps teach the device how to calculate keys for that specific blockchain. Don’t worry about storage space. Even if you delete an app to make room for another one, your coins are safe. The coins are on the blockchain, not inside the device. The device just holds the keys. You can reinstall the app later, and your money will still be there.
How to Transfer Crypto to a Cold Storage Wallet?
Transferring crypto to cold storage basically means sending funds from a hot wallet or exchange to the public address generated by your hardware device.
Generally, the process always starts with finding your “Public Key” or address. In your wallet software (like Ledger Live or Trezor Suite), you have to click a button that says “Receive.” The app will then ask you to confirm this on the physical device.
Look at the device screen. It will show a long string of characters, usually starting with “bc1” for Bitcoin or “0x” for Ethereum.
- Verify every single character: You must check that the address on your computer screen matches the address on the little device screen perfectly. Remember, malware on your PC can swap the address on your monitor, but it cannot hack the offline screen in your hand.
Once you verify it, you copy that address. Go to the wallet where your money is currently sitting. Paste the address into the “Send” field.
Network selection is super important here. A lot of people lose money by choosing the wrong network. For example, if you are sending USDT, make sure you know if you are using the Ethereum network (ERC20) or the Tron network (TRC20). The receiving address on your cold wallet must match that specific network. Also, if you send Bitcoin Cash to a Bitcoin address, it might be gone forever.
Just double-check everything. Take your time.
How to Move Crypto From Coinbase to a Cold Wallet?
Moving funds from Coinbase to a cold wallet requires you to log into your exchange account and initiate a standard blockchain withdrawal to your new device address.
Since so many people use Coinbase, let’s break this down specifically.
First, open your cold wallet software on your desktop and get your receiving address ready, just like we talked about above. Copy it to your clipboard.
Now, go to Coinbase. Click on the “Send & Receive” button, usually found at the top right of the dashboard.
Make sure you are on the “Send” tab.
Select the asset you want to move. Let’s say it is Bitcoin. Enter the amount you want to send. I strongly suggest doing a small test amount first, maybe just $15 or so.
Paste your cold wallet address into the “To” field.
Coinbase will show you a preview of the transaction. Look at the network fees. In 2026, network fees can vary a lot, but for Bitcoin, it might be anywhere from $2 to $20, depending on traffic.
Click “Send Now.”
You will likely need to enter a 2FA code from your authenticator app or text message. Once you confirm, the money leaves Coinbase. It is now broadcasting to the blockchain.
Wait about 10 to 30 minutes. You don’t need to panic if it doesn’t show up instantly. The blockchain needs to confirm the transaction.
How to Store Crypto in a Cold Wallet?
Storing crypto in a cold wallet effectively means keeping your private keys isolated from the internet while the actual coins remain on the blockchain ledger. You see, mainly, people get confused here. They think the Bitcoin files are inside the USB stick. They are not. The only thing inside the stick is the digital signature (the key) that proves you own the coins on the public ledger.
To store your crypto safely, follow this routine after your transfer is done:
- Verification: Check your wallet software. Did the balance update? excellent. If you sent a test amount first (which you totally should), now you can send the rest of your stack.
- Disconnection: Unplug the device from your computer. Seriously, just pull the cable out. The moment you unplug it, your keys are 100% cold. No hacker on earth can touch them because there is no electrical path to the internet.
- Physical Storage: Put the device in a safe place. A home safe is good. A safety deposit box is okay too. Just don’t leave it sitting on your desk next to your coffee cup.
- Maintenance: You don’t need to plug it in every day. Actually, it is safer if you don’t. Just check it maybe once or twice a year to ensure the firmware isn’t too outdated.
So, “storing” is really just “doing nothing” once the keys are secured. It is passive. You just wait for the price to go up (hopefully).
How to Use a Cold Storage Wallet (e.g., ELLIPAL Titan 2.0 Crypto Wallet)
To set up a cold wallet like ELLIPAL Tita 2.0 (or similar for any QR-code based wallet like Keystone 3 Pro, SafePal S1 Pro, and NGRAVE ZERO), you need to follow these steps to use a cold storage wallet:
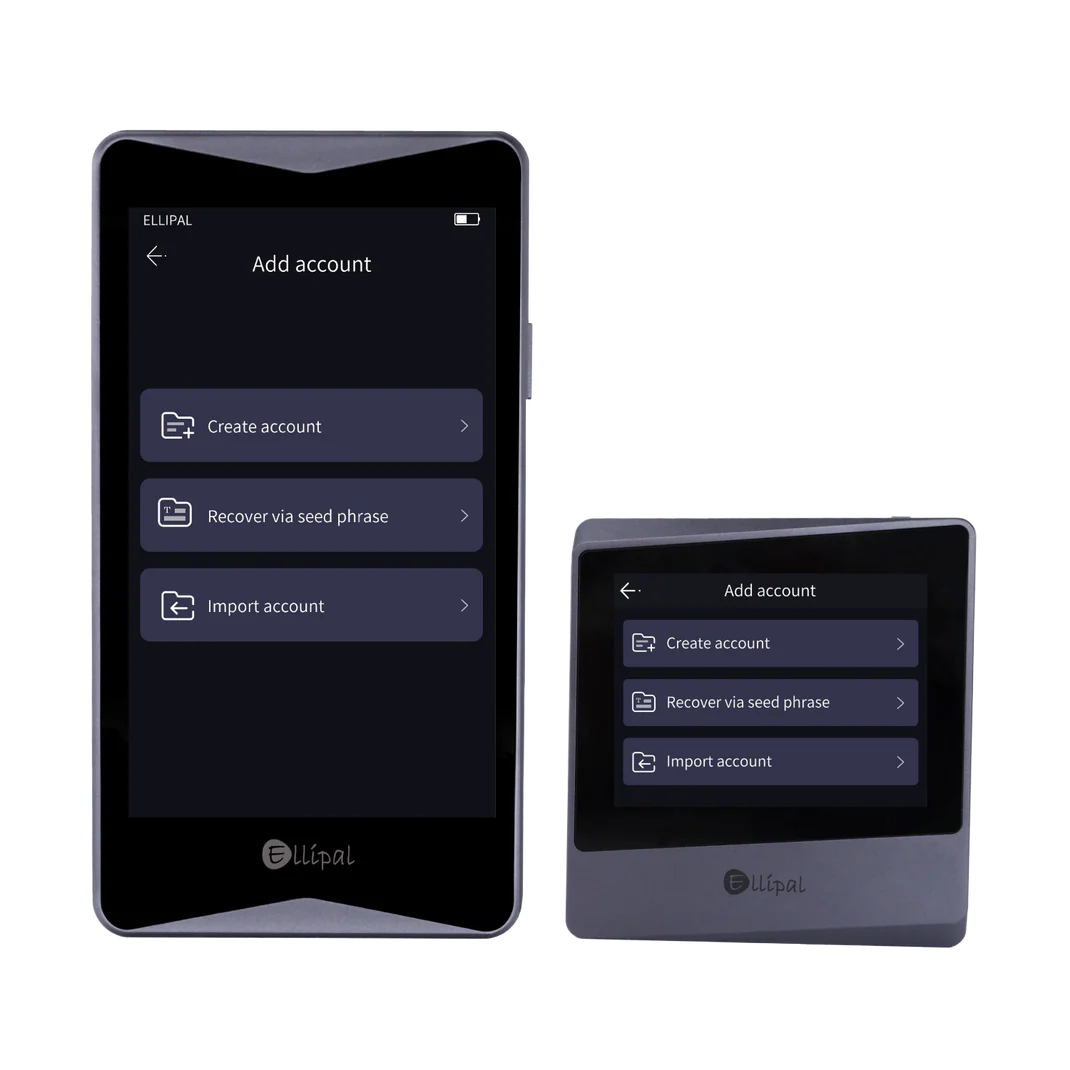
Step 1: Create an Account on the ELLIPAL Wallet
- You should begin by turning on your ELLIPAL device and selecting your preferred language.
- The device will then prompt you to select “Next” and choose the “Create Account” option.
- You need to enter your account details and decide if you want to set up an optional passphrase.
- It is vital to remember that if you add a passphrase, you must use it every time you recover your account in the future.
- The wallet setup continues when you select “Create Account” and then “Backup” to view the security requirements.
- You must read the three safety points carefully before tapping “Back up now” to generate your seed phrases.
- The seed phrase serves as the only backup for your assets, so you should write it down and store it in a secure location.
- You will then verify the phrase by selecting the words in the correct order and pressing “Verify seed phrase.”
- The process finishes once you select the specific coins you want to use and confirm the account creation.
Step 2: Pair Your New Account to the ELLIPAL App
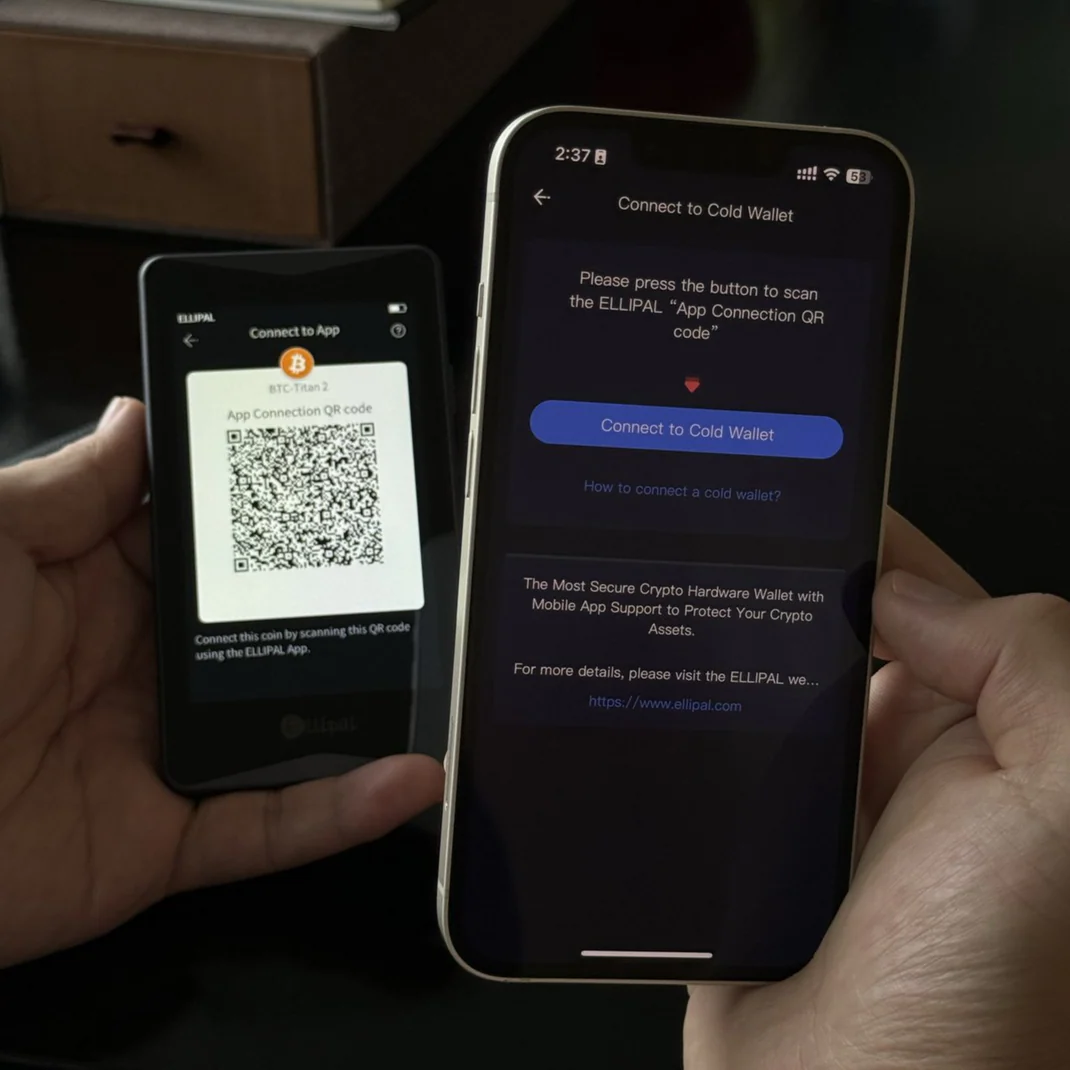
- You should start by tapping the small chain icon located in the top right corner of your device screen.
- The cold wallet will then show a connection QR code that you need to scan with your phone.
- You need to open the ELLIPAL app, choose the “Cold Wallet” option, and select “Connect to Cold Wallet” to turn on your camera.
- The app requires you to scan every QR code displayed on your ELLIPAL screen to sync all your data properly.
- You can use the “Auto Play” feature on the device to let the QR codes cycle through automatically while you hold your phone over the screen.
- It will show your new cold wallet account on your mobile phone once the synchronization is complete.
Okay, Step 3: How to Send Transactions With ELLIPAL Cold Wallet
You see, signing transactions with a QR code might feel like a new concept, but it is actually a very fast and secure way to manage your crypto.
- You should start by opening your ELLIPAL App, navigating to your account, and selecting the specific coin you want to send, such as ETH.
- The app will show a “Send” button at the bottom left corner that you need to tap to begin.
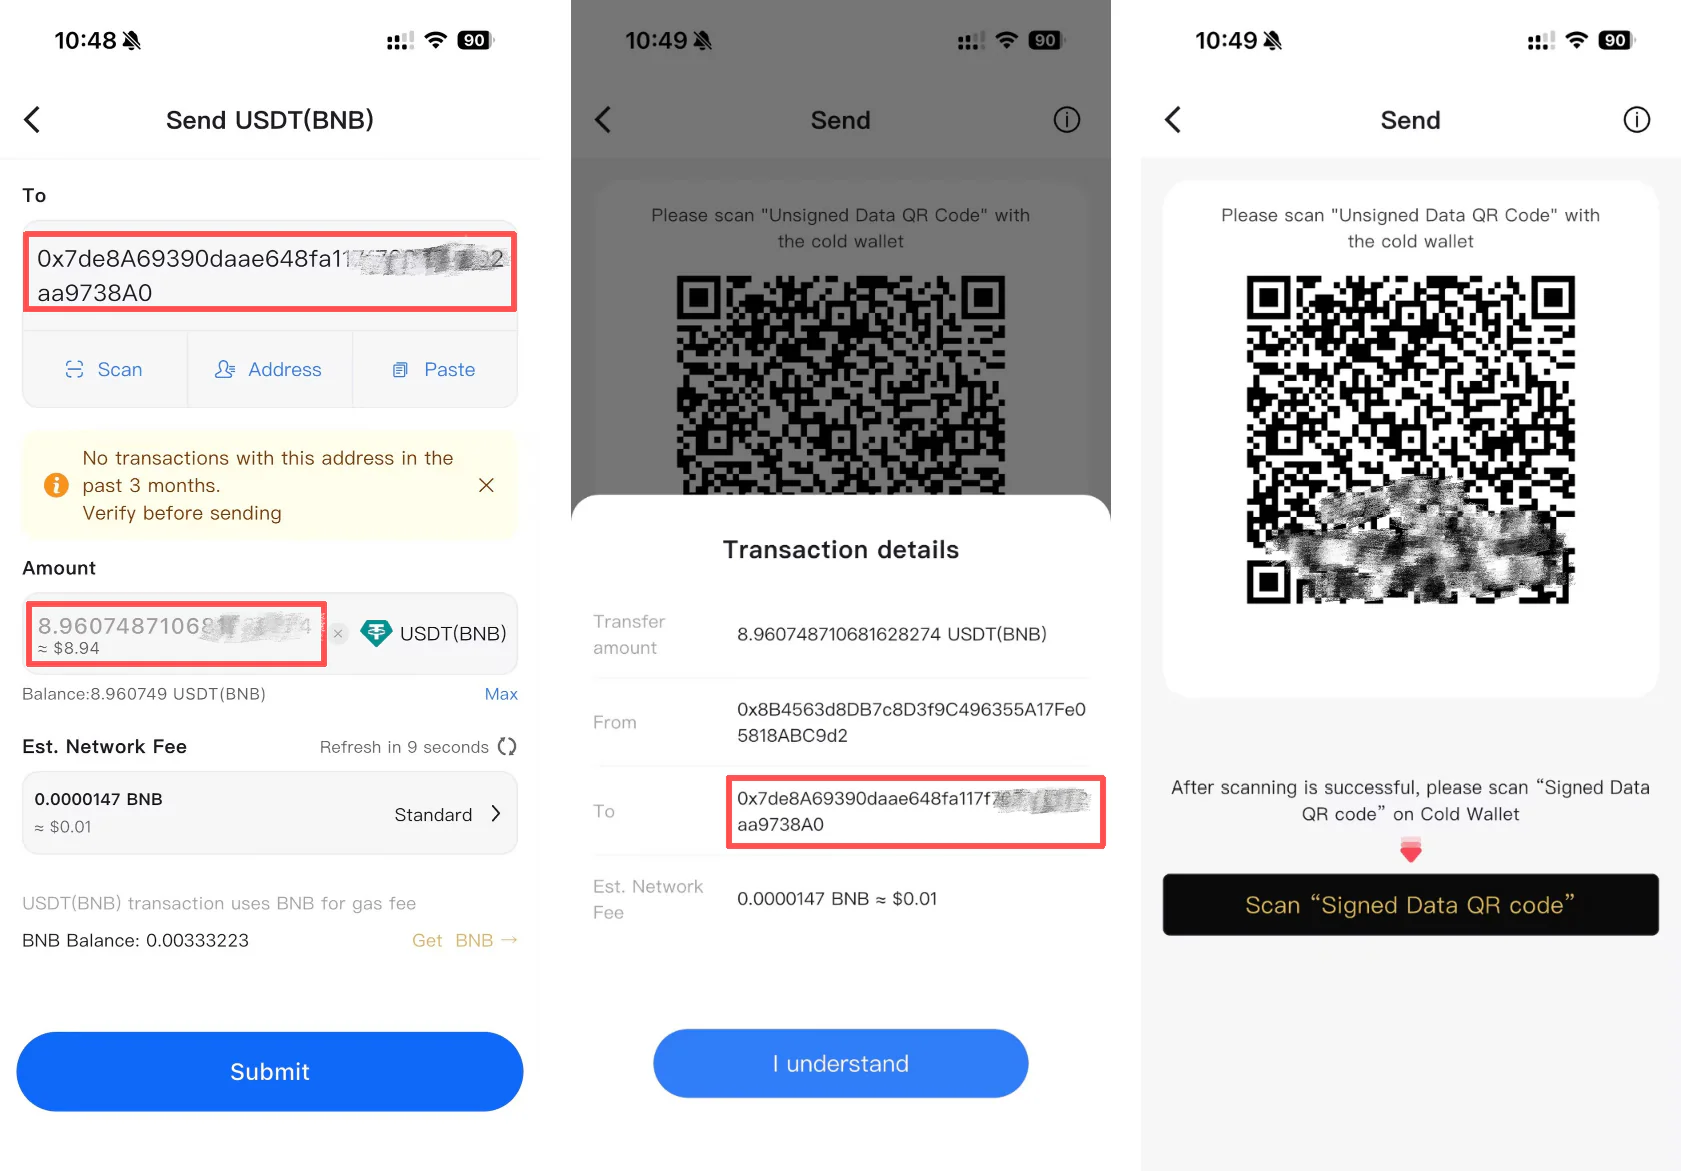
- You must enter the amount of ETH you wish to send, provide the recipient’s address, and choose your preferred gas fee.
- It requires you to select “Submit” once you are ready, which will then prompt you to double-check all the transaction details.
- The screen will show a dark area that you need to tap to reveal the “Unsigned Data QR Code.”
- You then need to pick up your ELLIPAL device, go to your ETH account, and tap the “Sign” icon on the right side.
- The device will ask for your password, and once you hit “Confirm,” it will automatically turn on its built-in camera.
- You should use the ELLIPAL device to scan the “Unsigned Data QR Code” displayed on your phone app.
- It is important to review the details on the device screen one last time before selecting “Ok.”
- The ELLIPAL device will then generate a “Signed Data QR Code” specifically for this transaction.
- You need to go back to your phone app and tap “Scan Signed Data QR Code” to activate your phone’s camera.
- The phone must be used to scan the QR code shown on your hardware device to finalize the transfer.
- The transaction is complete once you see the success message, and you can view the records anytime by selecting the coin in your app.
Read: ELLIPAL Titan 2.0 review
Setting Up Your Ledger Cold Wallet
You need to start by downloading the Ledger Live app on your computer or phone. Just go to ledger.com and find the download link.
Once you install it, open the app. Plug your device into the computer’s USB port. Look at the little screen. It should show a welcome message. Press both buttons on top of the device to start. Then, choose the option that says “Set up as new device.”
After that, you just follow the steps below.
Step 1: Set a PIN Code
First, you have to choose a PIN code. You can pick 4 to 8 digits using the buttons on the device.
Basically, you will enter this code every single time you want to unlock the wallet. Make it something you can remember, but do not make it easy. No way should you use your birthday or “1234”.
Writing the PIN down on your paper sheet is okay, but keep it hidden.
Step 2: Write Down Your Recovery Phrase
Next, the Ledger will show you a 24-word seed phrase. It shows one word at a time.
Write each word in the exact order on the paper card they gave you. You can also use a metal backup plate if you have one.
Really, this phrase is the only way to get your money back if you lose the device. Without these words, you cannot restore your coins.
Step 3: Confirm Your Phrase
After writing down the words, the device will ask you to check them.
It might say something like “Select your 4th word.” You have to scroll through a list using the buttons and pick the right word.
This step just makes sure you copied everything correctly. It is kind of tedious, but totally necessary.
Step 4: Install Crypto Apps
Okay, once the phrase is confirmed, open Ledger Live on your computer again.
Go to the “Manager” or “My Ledger” section.
You can now install the specific apps for the coins you want. For example, install the Bitcoin (BTC) app or the Ethereum (ETH) app.
Each app takes up a bit of space, but don’t worry. If you run out of space, you can install other apps later. Your coins are still safe even if the app is deleted.
Step 5: Add Your Accounts
Now, click “Add account” inside Ledger Live.
Pick the coin type you want, like Bitcoin. The app will generate a wallet address for you.
Basically, this address is where you send coins to store them on your Ledger.
Step 6: Test Your Setup
Honestly, you should do a small test before sending everything.
Use another wallet or exchange to send a tiny amount, maybe just $5 worth of crypto, to your new Ledger address. Check Ledger Live to see if the balance shows up.
By the way, this confirms that everything works perfectly before you risk big money.
Related article:
Setting Up Your Trezor Cold Wallet
Alright, let’s talk about the Trezor.
Maybe you bought the Model Safe 5 with the color screen, or the classic Model One. Honestly, setting them up is super user-friendly because the software guides you through it.
First, go to trezor.io/start and download Trezor Suite. You can put it on your computer or your Android phone. Open the app once it installs.
Next, plug the device in with the USB cable. The Suite will recognize it right away.
- Firmware Update: Because it is a new device, it likely needs an update. Just click “Install firmware” and let the device restart. It makes sure you have the newest security features.
- Create the Wallet: Inside the Suite, choose “Create a new wallet.” You can pick your backup type. Trezor often defaults to 12 words, but you can choose 24 words for extra safety. Honestly, 12 words are already strong enough for most people.
- Write Down the Recovery Phrase: Your Trezor screen will show the secret words. Write every single one down on the card in the box. Never save these on your laptop. Then, the device will ask you to confirm a few words. It might say “What is word #6?” and you check your list. This verifies that you wrote them correctly.
- Set a PIN: After the backup, the Suite will ask for a PIN. You enter 4 to 6 numbers directly on the Trezor screen or using the buttons. This PIN stops people from using your device if they steal it. Guess what? If they guess the PIN wrong 16 times, the device wipes itself clean. So, make sure you remember it.
- Activate Coins: Finally, select the coins you want to see, like Bitcoin or Ethereum. This just tells the app what to display.
Read: Trezor Safe 5 review
Best Practices for Long-Term Storage
So, you are all set up. Now what? Mostly, you just hold. But there are some things to keep in mind for the future.
- Don’t talk about it: In real life, don’t brag about your crypto. If people know you have a cold wallet at home, you become a target for a physical attack. A $5 wrench attack is when someone threatens you to give up your password. No firewall stops that. Keep a low profile.
- Passphrases: Advanced users use a “Passphrase” or “25th word.” This is an extra word you add to the seed. It creates a completely hidden wallet. If someone finds your 24 words, they still see an empty wallet without that 25th word. It is great security, but risky. If you forget that word, the money is gone. No recovery.
Troubleshooting Common Issues
“My device won’t turn on.” It happens. Batteries die or cables break. Try a different USB cable first. If the screen is dead, don’t panic. Your money is not in the device. It is in the 24 words. You can buy a new device and restore it.
“The fees are too high.” Cold wallets don’t set the fees. The blockchain network does. If the network is busy, it costs more to move money. You can usually customize the fee in the software, but if you set it too low, your transaction might get stuck.
“I lost my device.” Again, calm down. As long as you have the paper backup, you are fine. Buy a replacement. Restore. Move funds to a new seed if you think someone stole the old device and might guess the PIN.
Traveling with a Cold Wallet
People ask me this a lot. Can I take it through airport security?
Sure. It is just electronics. It looks like a USB drive.
However, do you really need to bring it?
If you are just going on vacation for a week, leave it at home in the safe. You probably won’t need to trade. Carrying it adds the risk of losing it.
If you are moving permanently, that is different. Keep it in your carry-on bag. Never check it in luggage.
The Mental Game of Self-Custody
Honestly, the hardest part is the psychology.
When money is on an exchange, you can blame the exchange if things go wrong. When it is on a cold wallet, it is all you.
You might wake up in the middle of the night thinking, “Did I lock the safe?”
That is normal. It gets easier.
Just remember that you are part of a financial revolution. You are opting out of the traditional banking system. That takes a bit of courage.
Final Thoughts: How to Set Up a Cold Storage Wallet
To set up a cold wallet for crypto cold storage, you need to choose a hardware or offline wallet, generate and record the seed phrase offline, verify the wallet address, transfer a small test amount, store the seed phrase securely, and disconnect the wallet from all networks.
You see, setting up a cold wallet is much easier than it used to be. Today, the user interfaces are clean, and the devices are slick. It feels like a lot of steps, but it only takes about 30 minutes.
Thirty minutes to secure your financial future is a good deal.
You worked hard for that money. Don’t let a hacker take it because you were too lazy to buy a $70 device.
Whatever you do, just start. Even if you only move half your coins to cold storage, that is better than nothing.
Get comfortable with being your own bank. It is the future, and you are early.